September 29, 2012

A Heart Healthy Breakfast Fruit Pizza ~ #LMDConnector

September is almost over and (most) kids have already been in school for three weeks.  Parents are back to rushed mornings making lunches, and rushed evenings getting kids fed, bathed and in bed early.  With all the things to plan for and think about, healthy eating can sometimes fall by the wayside.
 
While I like preparing big breakfasts for Big-A on school mornings (pancakes, cinnamon oatmeal, boiled eggs and toast), some mornings the time just slips away so fast I hardly have time to give him a bowl of cold cereal!  I'm always looking online and through my favourite family-friendly magazines for quick, healthy breakfast recipes to fill Big-A's tummy and brain for a busy day ahead.
 
 
As a proud #LMDConnector, I was pleased to find out that General Mills has partnered up with the Heart And Stroke Foundation, promoting Get Smart With Your Kid’s Heart!  On the Heart And Stroke website you will find information on Healthy Eating and Activities, being Healthy At School and in your Community, as well as helpful publications and links.  General Mills is working with the Heart And Stroke Foundation to ensure that kids have a healthy start to each day, encouraging heart-healthy habits in your family.
 
On the Healthy Eating tab, I found some fun and delicous looking breakfast recipes that any child would love, like Sunshine French Toast, Quinoa Cranberry Muffins, Peek-A-Boo Eggs, and many more.  I was immediately drawn to a recipe called Breakfast Fruit Pizza, as it contained refrigerator and pantry staples in my home that Big-A eats each week.  I changed the recipe slightly (the original recipe can be found here), and they were a huge hit in my home!
 
 
Breakfast Fruit Pizza
Serves 1
 
Ingredients:
1 small whole wheat pita (or 3 mini whole wheat pitas)
1 1/2 tbsp spreadable cream cheese (plain or flavoured)
1/4 cup chopped fresh fruit (I used berries only)
honey
 
Directions:
  1. Lightly toast the pitas in a toaster or toaster oven.
  2. Spread with cream cheese.
  3. Top with fresh fruit and lightly drizzle with honey.  If you used a large pita, cut into pieces and serve.  Mini pitas can be served whole.
Calories: 147
Protein: 5.4g
Fat: 5g
Dietary Fibre: 5g
Sodium: 216mg
Potassium: 113mg
 
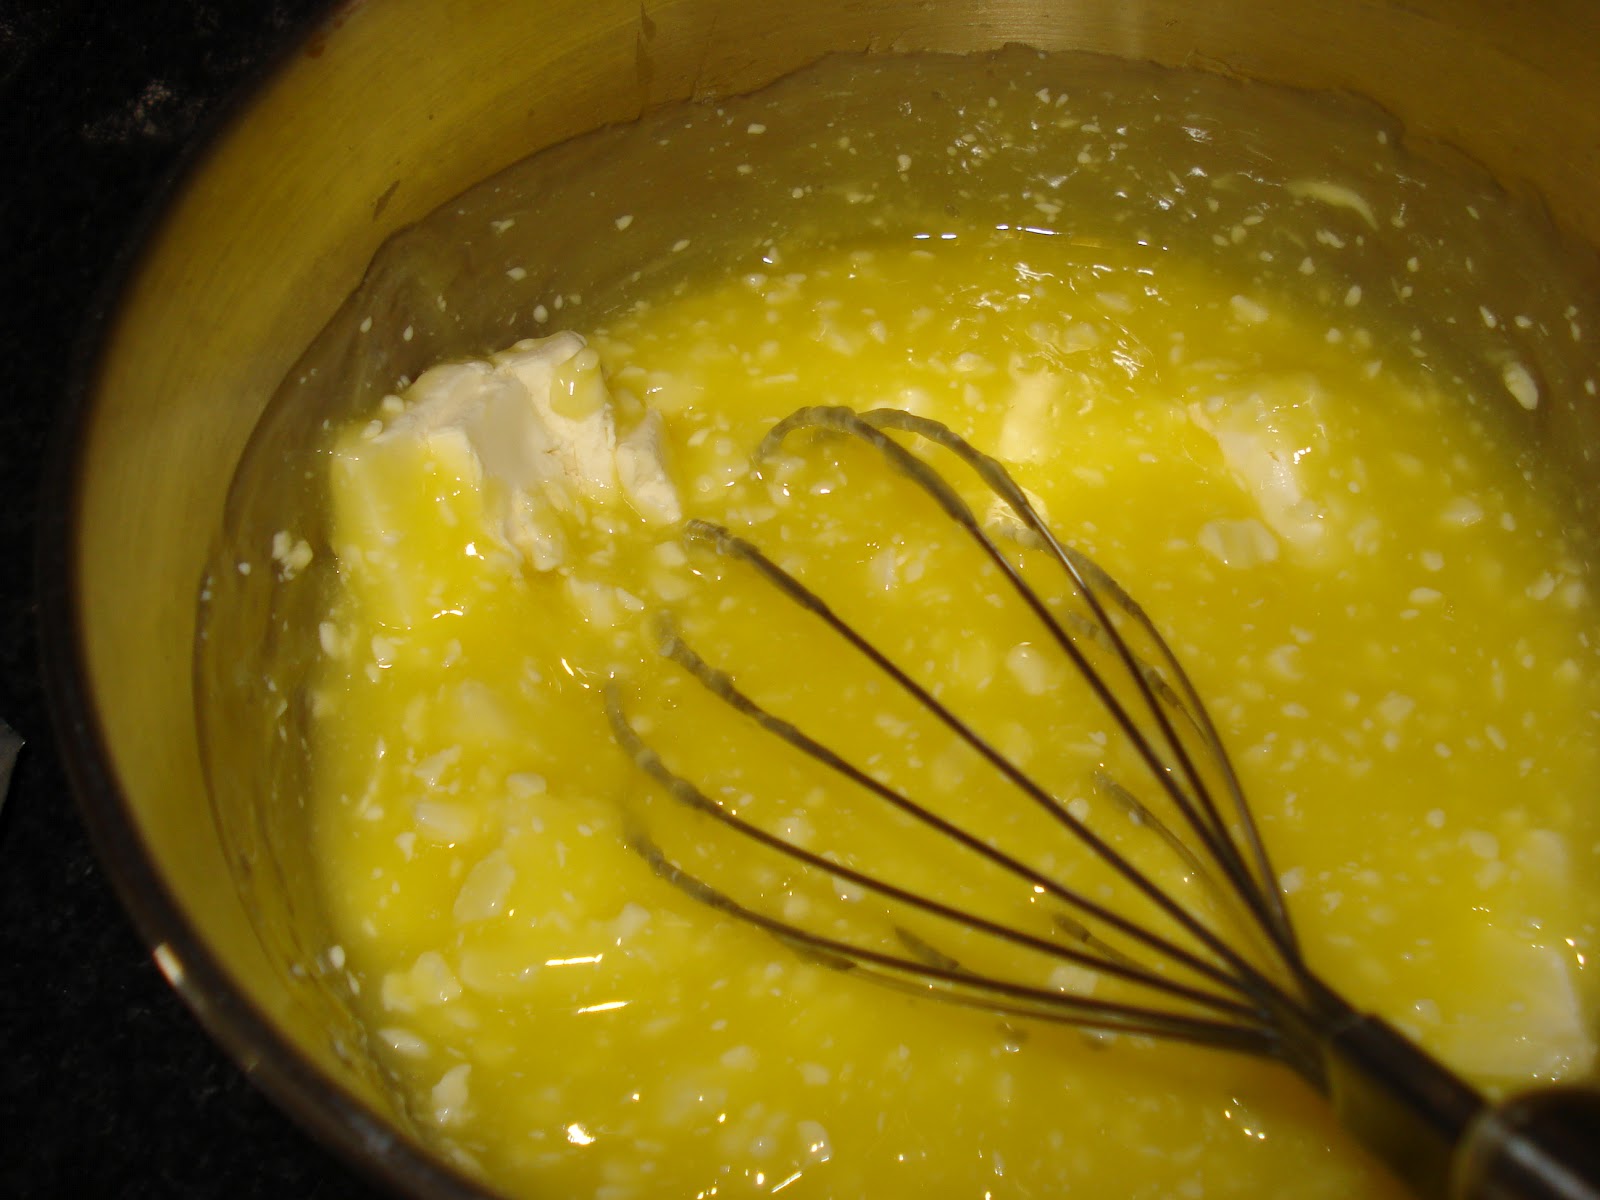
Use a spreadable cream cheese to avoid tearing the pitas.

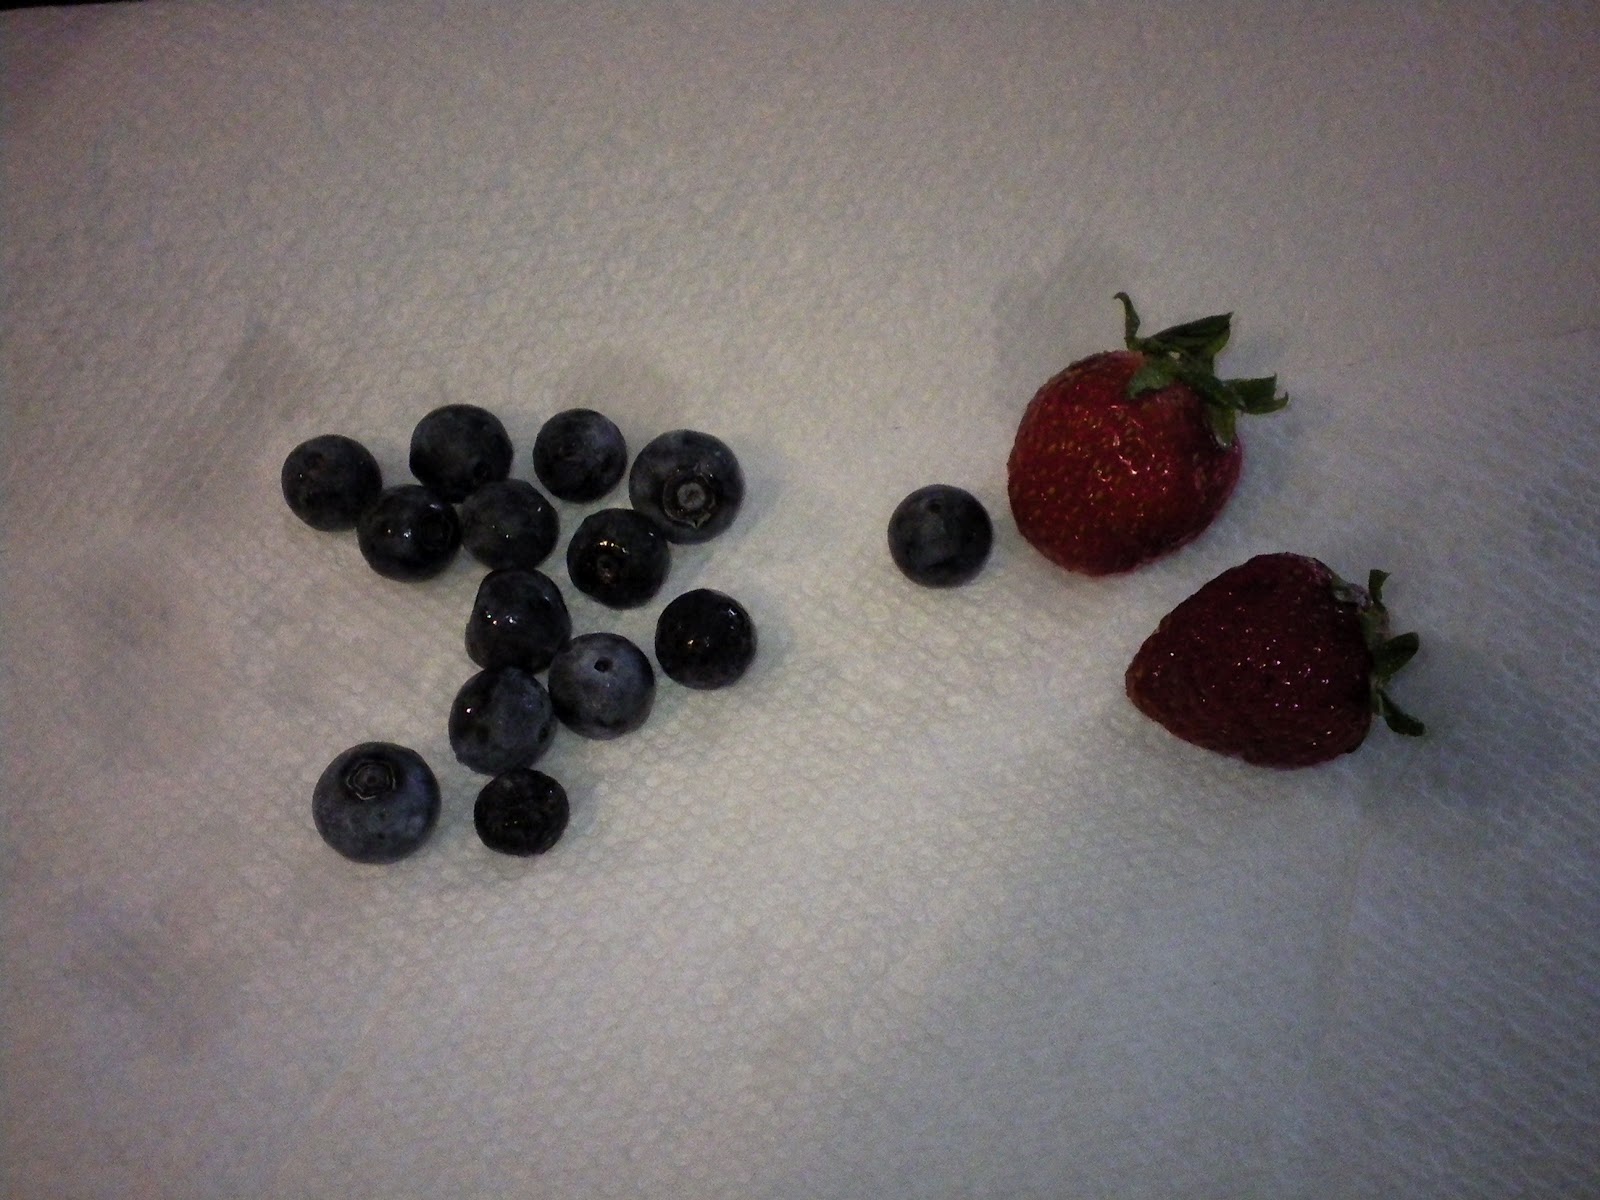
Always rinse and dry fresh berries before using in recipes.

The finished product - delish!

Big-A taking a big bite (with Lil-J watching closely)!
 
A balanced breakfast high in protein and fibre is ideal for keeping your kids moving through the day, and keeping them full until snack or lunch time.  I send Big-A to school with mini whole wheat pitas at least once a week, either in pizza form or topped with cream cheese and his favourite jam.  And fresh berries are eaten in our house every single day.  This easy breakfast (it really doesn't get easier than this!) is a perfect one for busy weekday mornings, and I will definitely make these on Sunday's when Big-A has early soccer games.
 
Check out the Health And Stroke Foundation's Healthy Kids site at http://www.heartandstroke.com/site/c.ikIQLcMWJtE/b.3479025/k.802B/Healthy_Kids.htm for recipes and ideas for keeping your kids heart healthy.  And make sure to check out the General Mills website at https://lifemadedelicious.ca/ for more delicious recipes that your family will love.
 
 
My little "movie star in the making" made his own video review:


I’m part of the Life Made Delicious blogger program and I receive special perks as part of my affiliation with this group. As with every post that I write, the opinions on this blog are my own.

September 27, 2012

My Moment Of Crazy II ...

So here we go again...another school trip.  This time around, Big-A is 7 years old and in Grade 2.  He is joining his class on a Science trip to Kelso Conservation Area in Milton, ON, where they will be studying water.  I had a big chat with him this morning about staying safe, staying close to the teacher/helpers/classmates/St John Ambulance on-site, and after scaring him silly with my warnings, I smiled and told him to "just have fun"!  As a parent, I want him to know the dangers around him.  I want him to know that if he wanders off with a friend or by himself, that he could get lost in the woods (or in this case, the Niagara Escarpment!!!).  Maybe this isn't the right approach, but I couldn't get through the day without knowing that he is aware of these things.

Thankfully, he's a good kid.  He doesn't wander off.  He listens to and respects authoirity.  And he has always been my little Safety Officer.  But I'll still worry today, it's something that is beyond my control.  Until I get a call at work that he's home safe, my mind will be racing.  I'll never stop being a Crazy-Mom, I love my kids too much!


~ Original Crazy-Mom Post from 10/24/11 ~

My 6-year old 'baby' is on his first grade school trip today.  The kids were bussed to Burlington to see Jack Grunsky perform.  I remember trips like this, the excitement of taking a school bus with my friends, the excitement of going somewhere other than school for the day!  Big-A has never been on a school bus before and I’m sure that this experience alone will go down in his top 5 moments of the year!  This is the kid lucky enough to live 4 minutes from school, who begs me on a weekly basis to take the bus!

I know how exciting this day is for him, and how important it is to allow him this type of independence.  But even this knowledge won’t cure the knots forming in my stomach and throat when I picture him on his own...without my hubby or I present...essentially with a bunch of strangers in a strange place.

I’m trying to focus at work and I can’t.  I’m trying to forget the consent form that I filled out weeks ago, acknowledging that my child could get hurt (or worse..) during this trip.  I’m trying to remove from my mind the knowledge that there are a lot of bad people out there who want to hurt little kids.  But I can’t.

I’m kicking myself for being rushed this morning and not going over the ABC’s of safety with him; DON’T talk to strangers; DON’T leave your friends/teacher/group; DON’T go anywhere without talking to your teacher first including the bathroom!  I know that he knows this stuff.  We go over it all the time.  I am the mom who sends him off to Blue Jays games with daddy, equipped with a Safety Wristband and note in his pocket with all contact phone numbers.

I know that there are things in life that I can’t control, and so many other things to worry about.

But this is my moment of crazy and I’m allowing myself to have it.

I’m sure the next trip will be easier on me, as the second day of school was - less worry each time.  It’s just so hard to let go.  It’s so hard to release them to this big, scary world with a confident smile on my face.

I guess this is all part of the highs and lows of parenthood.  I’ll enjoy my high tonight when I’m greeted at the door by two happy boys, hearing all about Big-A’s exciting day.  And I’ll forget all about my moment of crazy...

September 19, 2012

A Healthier Version Of Steak & Eggs Fit For Any Meal! #LoveCDNBeef

I was thrilled at the news that I was chosen as a ShesConnected Canadian Beef Brand Ambassador.  I belong to a family of serious meat eaters (Big-A often referrs to himself as a carnivore or T-Rex, and Lil-J's most common dinnertime request is "more steak!"), and I love the chance to help promote anything Canadian!

Other than simply loving a sirloin steak or prime rib dinner, I include beef in my diet for many health reasons.  Since high school, I have suffered from Iron Deficiency Anemia.  And more recently, after the birth of Lil-J 3 years ago, I was diagnosed with Vitamin B12 Deficiency Anemia.  I treat both using supplements, but I also know the importance of including meat in my diet daily.  Beef is an excellent source of both iron and B12, along with zinc and protein.

Beef can also be high in fat, which is why I choose leaner cuts to feed my family.  I also make sure to add various vegetables to meals containing beef to balance the meal.

Along with vegetables, another awesome pairing with beef is eggs.  From beef bourguignon over egg noodles, to steak and eggs for breakfast, beef and eggs make a delicous combo.  According to the Burnbrae Farms website, one large egg contains only 70 calories, and a multitude of vitamins and nutrients.  Steak and eggs together make a protein powerhouse!

I love salad, but a small garden salad just doesn't do it for me.  When I eat a salad, I want a MEAL!  This means a mixture of lettuce, other colourful veggies, and protein.  Sometimes I top my salad with meat, sometimes with cottage cheese, and often with nuts and seeds.  To celebrate the perfect pairing of beef and eggs, I came up with a killer Steak & Poached Egg Salad that will leave everyone satisfied!

Elaine loves her big salads too!  LOL


Steak & Poached Egg Salad

Ingredients:

1 8oz sirloin steak - look for Canadian Beef promotions at your local grocery store
2 large Burnbrae Farms eggs
2 heads of Boston lettuce, cored and rinsed
1 ripe avocado, peeled and sliced into thin slices
10 grape tomatoes, rinsed and sliced in half lengthwise
2 tbsp oil & vinegar salad dressing
1 tsp white vinegar
1 tsp vegetable oil
salt and pepper for seasoning

Directions:
  1. Season the steak well with salt and pepper.  Heat a cast iron skillet on a stovetop at medium-high heat.  Add vegetable oil.  Once the pan is smoking hot (approx 3 minutes), add the steak and cook for 3 minutes on each side (for medium rare).  Once cooked, cover the steak with aluminum foil and allow to rest to room temperature.
  2. Fill a medium sized pot with 3 inches of water.  Bring to a steady simmer over medium heat.  Add vinegar.  Crack one egg over a small bowl, being careful to not break the yolk.  Carefully add the egg to the simmering water.  Repeat with the second egg.  Simmer for 3 minutes.  Once cooked, place the eggs on a paper towel using a slotted spoon.  Lightly season with salt and pepper.
  3. Place the Boston lettuce on a plate.  Top with sliced grape tomatoes and sliced avocado.  Drizzle salad dressing over the vegetables.
  4. Unwrap the steak and slice thinly, against the grain.  Place steak next to the avocado.  Place the poached egg on top of the steak.  Serve with a buttered slice of ciabatta bread.
  5. Serves 2.
Season steak well with salt & pepper before cooking!

This steak is perfectly browned, thanks to my well-seasoned cast iron skillet!

Eggs poached to perfection!
 
Now THIS is a salad!  A balanced meal!

Hubby really enjoyed his dinner, and cleaned his plate!


For information about Canadian Beef, check out their website at http://www.beefinfo.org/default.aspx.  You will find information about farming, health, nutrition, and recipes.  You will also find great information and recipes on the Burnbrae Farms website at http://www.burnbraefarms.com/consumer/index.htm.  Help support Canadian farmers by buying Canadian and by demanding that your local grocery store sells Canadian.


I am participating in the Canadian Beef Brand Ambassador program by www.ShesConnected.com. I received compensation in exchange for my participation in this campaign. All opinions on this blog are genuine and my own.

September 11, 2012

{GF} Buttermilk Banana Bread Pancakes


After a long day at work, I arrived home last Thursday to find hubby dealing with a utilities guy, learned that Big-A was having dinner at his Nana's, and had poor Lil-J looking at me as if to ask "what am I going to eat?".  That was when I remembered that I didn't have any gluten-free (GF) bread for my little man (quick dinner #fail).  Panic set in, and I frantically searched the cupboards for anything that I could give him to eat.  I was also out of Lil-J's favourite Bob's Red Mill Gluten Free Pancake Mix, and then I came across a bag of Bob's Red Mill Gluten Free All-Purpose Flour and decided to give GF pancakes from scratch a try!  Lil-J loves pancakes.

I quickly searched for my absolute favourite homemade buttermilk pancake recipe and got to work.  Now, a little story behind this amazine recipe:

On a lazy Sunday morning, there really is nothing better than a stack of warm, soft pancakes drizzled with pure Canadian maple syrup. Mmmmm! And two years ago, I was lucky enough to find the BEST homemade buttermilk pancake recipe EVER, thanks to my dear friend and über blogger Lena! If you haven't tried these pancakes, or are on the search for a pancake recipe that is guaranteed to impress, check out this link: http://www.listentolena.com/2011/06/tall-fluffy-pancakes-take-ii.html. You'll be glad you did! I have made this recipe more times than I can count, for weekend breakfasts & lunches, and even for a quick weeknight dinner.

While searching for the recipe the other night, I came across previous comments that I've made on Lena's post.  As you can tell, I really, really like them!

Shauna
June 29, 2010 at 1:18 am
Yum! Homemade pancakes have become a weekend tradition in our home. I'll have to try these ones!
Shauna
July 24, 2010 at 1:03 pm
I just made a batch for my hungry boys (filled with delicious Ontario wild blueberries) – a huge hit! Very fluffy and light, a perfect recipe! Thx!
Shauna
June 17, 2011 at 5:05 pm
I made your tall fluffy pancakes for dinner last night – must have been reading your mind! BEST pancake recipe ever!
 
 
I changed the original recipe slightly (omitting the sugar, adding mashed banana) and they turned out perfect!
 
 
GF Buttermilk Banana Bread Pancakes
 
Ingredients:
3/4 cup milk
2 tbsp white vinegar
1 1/4 cups Bob's Red Mill Gluten Free All-Purpose Flour
1 tsp baking powder
1/2 tsp baking soda
1/2 tsp salt
1/2 tsp vanilla extract
1 egg
1 overripe banana, mashed
2 tbsp unsalted butter, melted (you can substitute 2 tbsp vegetable oil)
cooking spray or butter for cooking

DIRECTIONS

  1. Combine milk with vinegar in a medium bowl and set aside for 5 minutes to “sour”.
  2. Combine GF flour, baking powder, baking soda, and salt in a large mixing bowl.
  3. Whisk egg, vanilla extract and butter into milk. Whisk in mashed bananas. Pour the flour mixture into the wet ingredients and whisk until lumps are gone.
  4. Heat a large skillet over medium heat, and coat with cooking spray. Pour 1/4 cupfuls of batter onto the skillet, and cook until bubbles appear on the surface. Flip with a spatula, and cook until browned on the other side.

 
You'll know when your pancake is ready to flip when you see
 even bubbles at the surface.


The packaging on the Bob's Red Mill Gluten Free All-Purpose Flour recommends that you add xanthan gum (a common emulsifier that helps to give GF baked goods a soft, cakey texture).  I omitted the xanthan gum (I didn't have any in my pantry).  The mashed bananas worked as an emulsifier, and created soft, fluffy GF pancakes.
 
 
These Buttermilk Banana Bread Pancakes are so good, that I would easily eat them every day, and I'm NOT normally a fan of GF foods!  The boys both loved them, hubby had a few for dinner and even Nana approved of their flavour and texture.  I will be making these again and again!


HEALTH DISCLAIMER: Not all food products used in this recipe are certified "Gluten Free".  I do, however, causiously check all food labels and Brand websites before making my gluten free desserts.  If you have gluten allergy concerns, I suggest you do the same.

September 1, 2012

{GF} Lemon Cheesecake Trifle ~ A Perfect Dessert To End Summer!


Ever since I can remember, I've always been a dessert girl.  Cakes, pies, fresh berries and cream, I don't discriminate!  But my ultimate favourite dessert of all is cheesecake.  It's creamy and tangy and the perfect way to end any meal.


I love baking classic New York style cheesecake, and prefer it without any toppings.  I also make a gluten-free version that Lil-J can eat that is simple to make, light, and perfect for the summer.  I call it Lemon Cheesecake Trifle, and it is to-die-for!


Lemon Cheesecake Trifle


Ingredients:
1 package Shirriff lemon pie filling
2 large egg yolks
1/3 cup cold water
2 cups hot water
1 package plain cream cheese (room temperature)
1 container Cool Whip topping (room temperature)
2 cups fresh berries, washed and dried (my choice is blueberries and raspberries)

Directions:
  1. Cut cream cheese into 1/4" pieces.  Put aside.
  2. Add contents of pie filling package, 1/3 cup cold water and 2 egg yolks to a medium saucepan and whisk until smooth.  Add 2 cups hot water and whisk to combine.
  3. Cook over medium-high heat, stirring constantly.  When the mixture starts to bubble, stir for another 30 seconds and remove from the heat.
  4. Place half of the cream cheese pieces into the saucepan and whisk into the lemon mixture until combined.  Add the remaining cream cheese and whisk until combined, approximately 5 minutes.
  5. Cover the surface of the mixture with a piece of parchment paper and allow to cool to room temperature.
  6. Once the lemon mixture is room temperature, whisk in the container of thawed Cool Whip until combined.
  7. Pour 1/3 of the mixture into a large glass bowl.  (I use a trifle bowl for presentation!)  Top evenly with 1/3 of the berries.
  8. Repeat two more times, but pile the last berry topping into the middle of the bowl.  It looks prettier that way!
  9. Refrigerate until ready to serve.


When you start to combine the cream cheese with the lemon mix, it will look curdled.
Not to worry - just keep mixing!


This is perfect - light yellow and creamy.


Parchment paper pressed against the surface of any pie filling/custard/pudding
will prevent a skin from forming.


*TIPS*
1. Substitute the Cool Whip with (whipped) heavy whipping cream and a drop of vanilla.
2. Make individual desserts using small glass dessert bowls, ideal for a dinner party!
3. Use any berries that you like.  Add a layer of crushed cookies or cubed pound cake.  Substitute the lemon pie filling with pudding mix for a different flavour.  This is an easy recipe to get creative with!


HEALTH DISCLAIMER: Not all food products used in this recipe are certified "Gluten Free". I do, however, causiously check all food labels and Brand websites before making my gluten free desserts. If you have gluten allergy concerns, I suggest you do the same.